
This DIY rustic coat rack adds functionality to your home and offers simple farmhouse style. It’s neutral look has a cozy inviting feel and pairs well with a wide variety of decors.
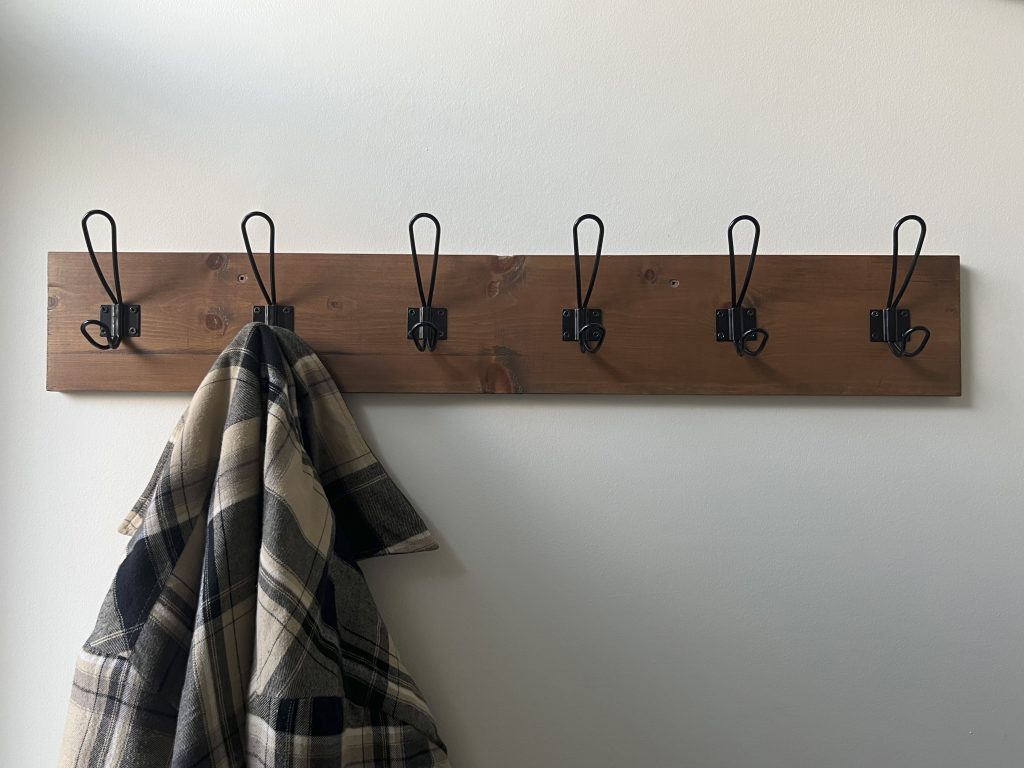
If you’re looking for an easy, rewarding weekend project that adds both charm and function to your entryway, look no further than an easy diy farmhouse coat rack. With its simple farmhouse style, this project is perfect for beginners and seasoned DIYers alike. Not only will you end up with a practical spot to hang coats, hats, and bags, but you’ll also infuse your home with cozy, rustic character.
Why Build Your Own Coat Rack?
Store-bought coat racks can be expensive—and often lack personality with extra cost. By making your own DIY rustic coat rack, you have full control over the design, size, and finish. A handmade coat rack is more than just a storage solution; it’s a statement piece that reflects your unique style. The farmhouse style coat rack, with its weathered wood and vintage-inspired row of hooks, is especially popular for its warmth and timeless appeal. You can also think openly about where to install your coat rack. Lovely for an entryway, but consider using it as a towel rack in your bathroom, or in your laundry room for extra storage. You can choose the number of hooks and stain colors to fully customize it.
What You’ll Need for your DIY rustic coat rack
- 1 piece of wood (reclaimed wood or pine, I used a 5/8” x 6″)
- Sandpaper (medium and fine grit) or palm sander
- Your favorite stain for wood or paint
- Clear polyurethane (for protection) in the finish of your choice, I went with a satin finish.
- coat hooks (antique brass or matte black for farmhouse look), I used 6 total.
- Measuring tape
- Pencil
- Drill, drill bit and screws
- Stud finder
- Cordless screwdriver ( or a regular screw driver)
- Wall anchors (if mounting on drywall)
- Mounting screws
Step 1: Choose and Prepare Your Wood
The first step is to choose the wood you want to use. The character of your coat rack starts with your board. I used a scrap pine board from our garage, but reclaimed wood can offer an instant rustic appeal. Think old fence planks or barn board. Cut your board to size—typically 30-40 inches for a family-sized rack. Sand the surface, edges, and ends of the board to remove rough spots but keep some knots and imperfections for that authentic farmhouse feel.
Step 2: Finish the Wood
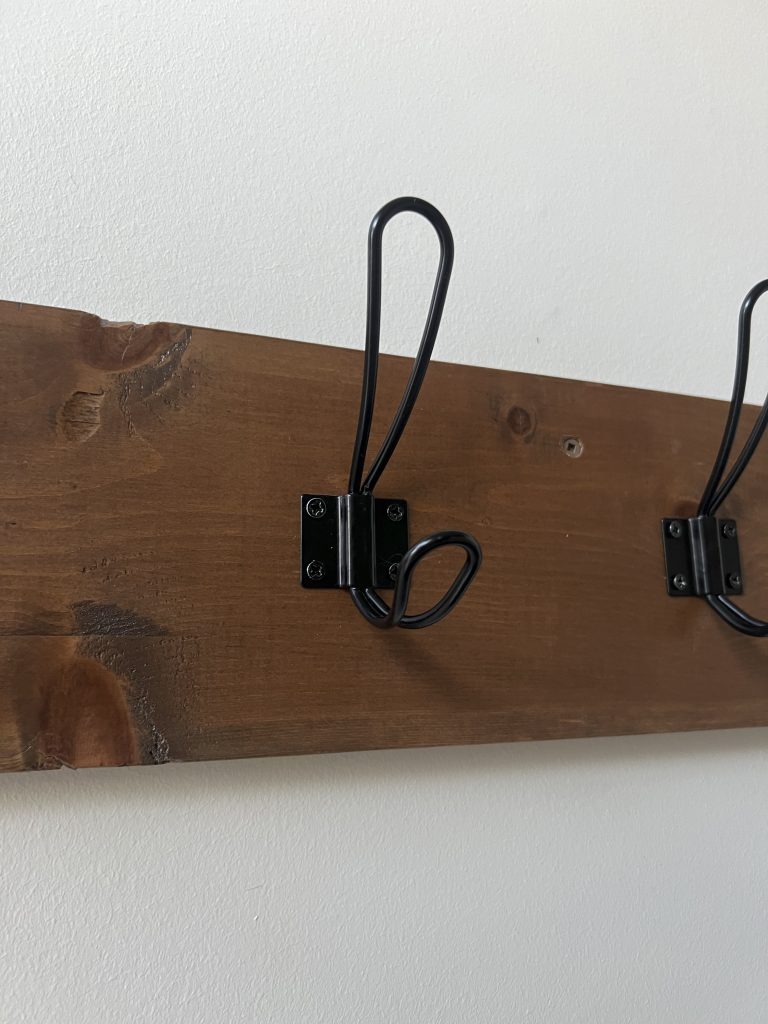
The next step is to apply a wood stain in your favorite shade—classic walnut, weathered gray, or whitewash are all popular farmhouse choices. Brush on the stain with the grain, let it soak in for a few minutes, then wipe away the excess with a clean cloth. Let it dry fully. If you prefer a painted look, chalk paint in soft neutrals or whites creates a vintage vibe. Once dry, add a coat or two of clear polyurethane to protect your finish. I mixed together some stain shades I already had to create the warm walnut look of my coat rack. Sometimes thinking outside the box, and using what you already have can really help!
Step 3: Attach the Hooks
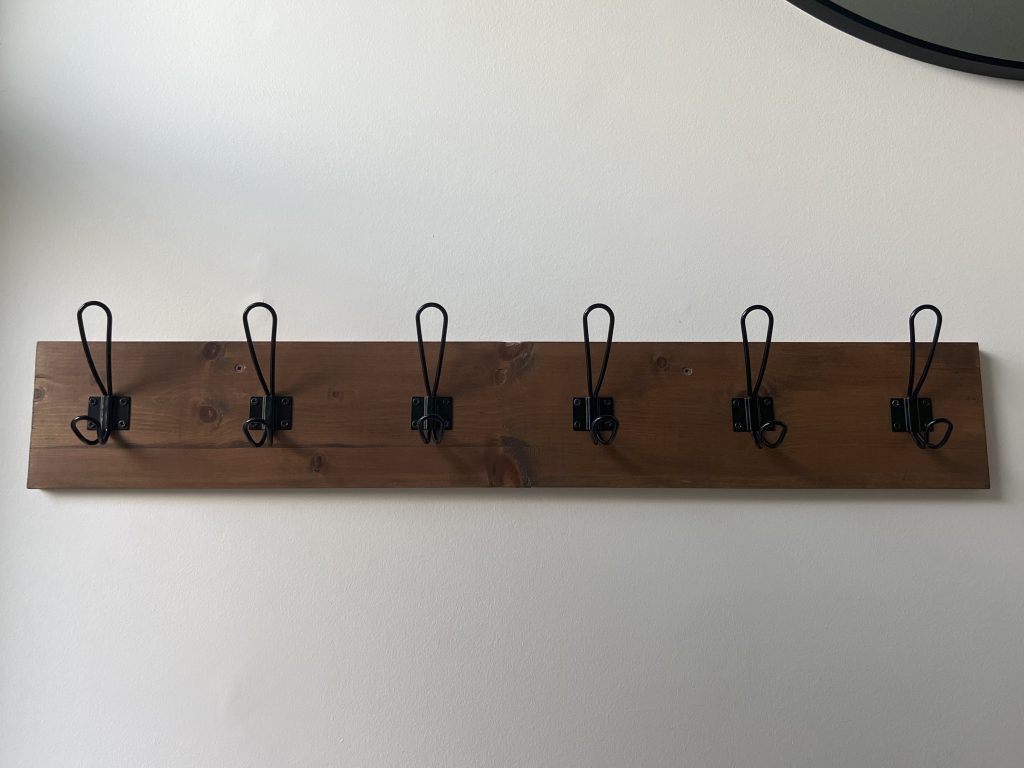
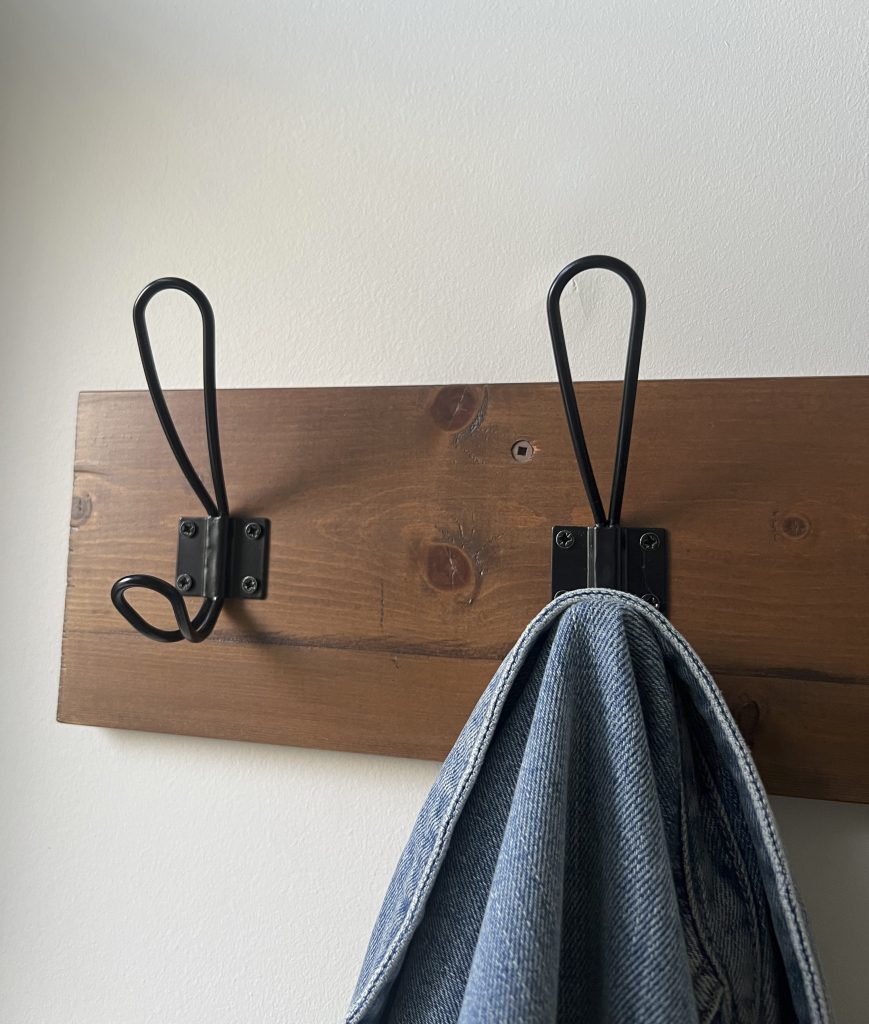
Measure and mark equal intervals along the board for your hook placement—spacing them 5-8 inches apart, depending on your board’s length and desired look. Pre-drill pilot holes to prevent splitting your screw holes, then screw in your hooks, gently with a screw driver. Metal hooks with a distressed finish add to the rustic charm. Keep an eye out for vintage hooks at the thrift store or antique store. The ones I chose are more modern, which suits my house or any new house. They are matte black and I purchased them on amazon. You can find them here.
Step 4: Mounting Your Coat Rack
Decide where you want to hang your coat rack. For heavy use, try to screw at least one side directly into a wall stud for maximum stability. If mounting on drywall, use wall anchors. Alternatively, attach D-rings or sawtooth hangers to the back and hang from nails or screws.
Step 5: Style and Enjoy!
Once mounted, your coat rack is ready for use! Hang up your coats, scarves, hats, and bags. Beautiful things can be functional too.
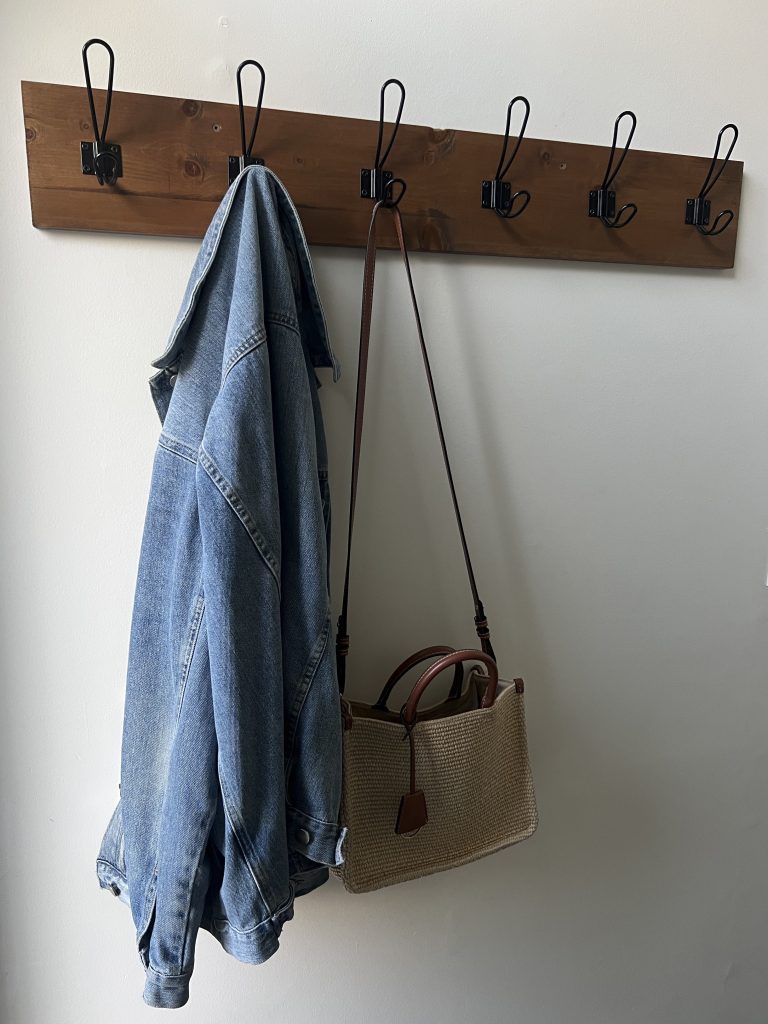
With the right tools, building a rustic wood coat rack is a simple, satisfying project that brings a touch of farmhouse style to any home. You’ll end up with a functional piece that not only organizes your space but also tells a story—one you built with your own hands. Whether you’re a DIY beginner or a seasoned maker, this DIY rustic coat rack project is sure to become a favorite addition to your entryway or mudroom.
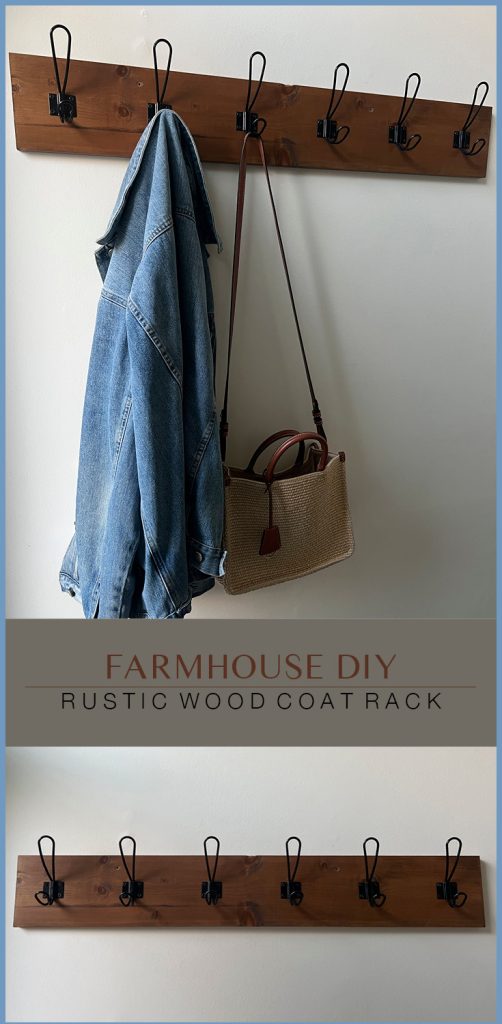
Pin it for later
Leave a Reply